Short description
Shipping addresses define where your purchases are sent — either to your home or directly to a Prep Center. ArbitrageOne uses the costs stored per address to calculate your margin and ROI correctly.What do you need shipping addresses for?
- Record Purchase: When recording a purchase, you select where the goods are delivered.
- Calculation: The shipping costs of the default address flow automatically into margin/ROI calculations.
- Prep Center connection: If you link an address to your Prep Center (e.g. PrepBusiness), shipments can be announced there directly.
Step-by-step guide
Step 1: Open the shipping addresses page
→ Open directly in the app: app.arbitrageone.de/shippingaddresses Navigate to Settings → Shipping addresses. You’ll see a card overview of all addresses you’ve already set up, with name, creation date and shipping costs.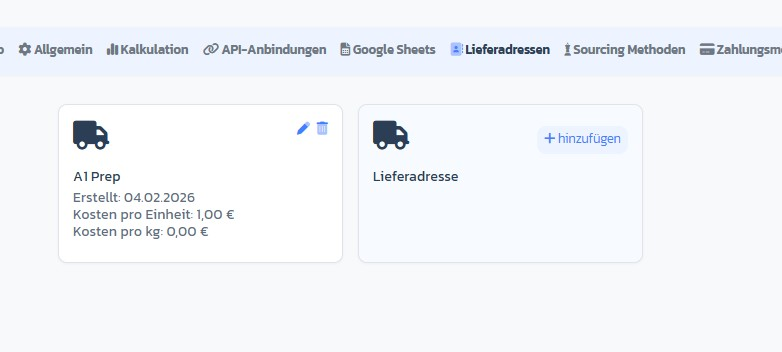
Step 2: Add a new address
Click the + Add button on the placeholder card Shipping address. The Add shipping address modal opens.
Step 3: Enter a name (required)
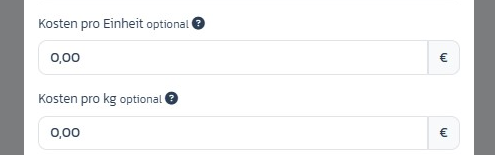
Enter a meaningful name (e.g. “Home Berlin”, “Prep Center Munich” or “2nd Office”).Step 4: Set shipping costs (optional)
- Cost per unit: Flat shipping cost per item (e.g. €0.50 packaging + handling).
- Cost per kg: Weight-based shipping cost. ArbitrageOne adds both together.
Step 5: Set the role of the address
Three toggles define the function of the address:- This address is the default address.: Automatically pre-selected for new purchases and calculations. Only one address can be default per account at a time — if you activate it on another, the previous default is reset automatically.
- This is my own warehouse: Marks the address as your home/office.
- This is a Prep Center: Marks the address as a Prep Center. Own warehouse and Prep Center are mutually exclusive — activating one automatically deactivates the other.

Step 6: Connect Prep Center API (optional)
If you activate Prep Center, an additional dropdown Prep Center API appears. Select your already configured PrepBusiness connection here — so that shipments to this address can be sent directly to your Prep Center.Step 7: Save
Click Save. The address appears in the overview immediately.Edit or delete addresses
Edit
Click the pencil icon on the address card — the modal opens with the current values.Delete
Click the trash icon. After confirmation the address is removed. Already recorded purchases keep their link to the deleted address (soft delete).Important notes
- Per row in the Sourcing Sheet you can override shipping costs individually via Prep Fee Override — the default values of the address are just the starting point.
- The default address is also set per Sourcing Sheet (see How do I create a Sourcing Sheet?) and can differ per sheet.
- You can’t change the Prep Center API connection after saving — the dropdown is locked. If needed: delete and re-create the address.